


Healthy Twix Cups
Healthy Twix Cups: A Delicious and Guilt-Free Treat
Indulging in a sweet treat doesn’t have to mean compromising your health. In this recipe, we’ll show you how to make heavenly Healthy Twix Cups that are both wholesome and satisfying. Whether you have dietary restrictions or simply want to make better choices, these homemade Twix Cups are the perfect guilt-free option.
Why You’ll Love This Recipe
These Healthy Twix Cups are not only incredibly delicious, but they also offer a range of benefits that will make you fall in love with them even more. Firstly, they are super easy to make, requiring only a few simple ingredients and minimal effort. Additionally, they are gluten-free and vegan-friendly, making them suitable for various dietary preferences. The combination of smooth chocolate, creamy caramel, and a crunchy cookie base creates a delightful texture that is sure to satisfy your sweet tooth.
Ingredients
To make these scrumptious Healthy Twix Cups, you’ll need the following ingredients:
- For the cookie base:
- – 1 cup almond flour
- – 2 tablespoons coconut flour
- – 2 tablespoons maple syrup
- – 2 tablespoons coconut oil, melted
- For the caramel filling:
- – 1 cup dates, soaked and pitted
- – 2 tablespoons almond butter
- – 2 tablespoons coconut oil, melted
- – 1 teaspoon vanilla extract
- For the chocolate coating:
- – 1 cup dark chocolate, melted
Note: Feel free to customize the recipe by adding chopped nuts or a sprinkle of sea salt on top of the chocolate coating.
Step-by-Step Instructions
Follow these simple steps to create your own Healthy Twix Cups:
- In a mixing bowl, combine almond flour, coconut flour, maple syrup, and melted coconut oil. Mix until a dough forms.
- Press the cookie dough into the bottom of a lined muffin tin, creating a thin and even layer. Place in the freezer to set.
- In a food processor, blend the soaked and pitted dates, almond butter, melted coconut oil, and vanilla extract until smooth and creamy.
- Remove the muffin tin from the freezer and evenly distribute the caramel filling on top of the cookie base.
- Return the muffin tin to the freezer and let it set for at least 2 hours.
- Once the caramel has set, remove the Twix Cups from the muffin tin and dip them into the melted dark chocolate, ensuring they are completely coated.
- Place the coated Twix Cups on a parchment-lined tray and let them set in the refrigerator for 30 minutes.
- Once the chocolate has hardened, your Healthy Twix Cups are ready to be enjoyed!
Pro tip: For easier removal from the muffin tin, you can use silicone cupcake liners or lightly grease the tin with coconut oil before pressing the cookie dough.
Expert Tips for Success
To achieve the best results with your Healthy Twix Cups, keep the following tips in mind:
– Soak the dates in warm water for 10-15 minutes before blending them. This will help them soften and create a smoother caramel filling.
– Use high-quality dark chocolate with at least 70% cocoa content for a rich and decadent flavor.
– When melting the chocolate, use a heatproof bowl placed over a pot of simmering water to ensure gentle and even melting.
Variations and Substitutions
If you’d like to put your own twist on the traditional Twix Cups, here are a few ideas:
– For a nutty flavor, sprinkle chopped almonds or hazelnuts on top of the chocolate coating.
– Swap almond flour for oat flour or a gluten-free flour blend if you have nut allergies or preferences.
– Experiment with different nut or seed butters, such as peanut butter or sunflower seed butter, for a unique taste.
Serving Suggestions
These Healthy Twix Cups are delightful on their own, but they can also be paired with a few accompaniments to elevate the experience. Serve them with a dollop of coconut whipped cream and a sprinkle of cocoa powder for an extra touch of luxury. For a refreshing contrast, enjoy them alongside a cup of herbal tea or a glass of almond milk.
FAQs
Q: Can I make these Healthy Twix Cups ahead of time?
A: Absolutely! These Twix Cups can be prepared in advance and stored in an airtight container in the refrigerator for up to one week.
Q: Can I freeze the Twix Cups?
A: Yes, you can freeze these Twix Cups for up to three months. Simply place them in a freezer-safe container or bag, separating each layer with parchment paper to prevent sticking.
Q: Can I use a different type of chocolate?
A: Of course! While dark chocolate is recommended for its health benefits, you can use milk chocolate or even white chocolate if you prefer a sweeter taste.
Final Thoughts
Indulging in a delicious sweet treat doesn’t have to mean compromising your health goals. With these Healthy Twix Cups, you can satisfy your cravings while still nourishing your body. The combination of a delicate cookie base, luscious caramel filling, and rich dark chocolate coating creates a heavenly treat that everyone will enjoy. So go ahead, give this recipe a try, and experience the joy of guilt-free indulgence!

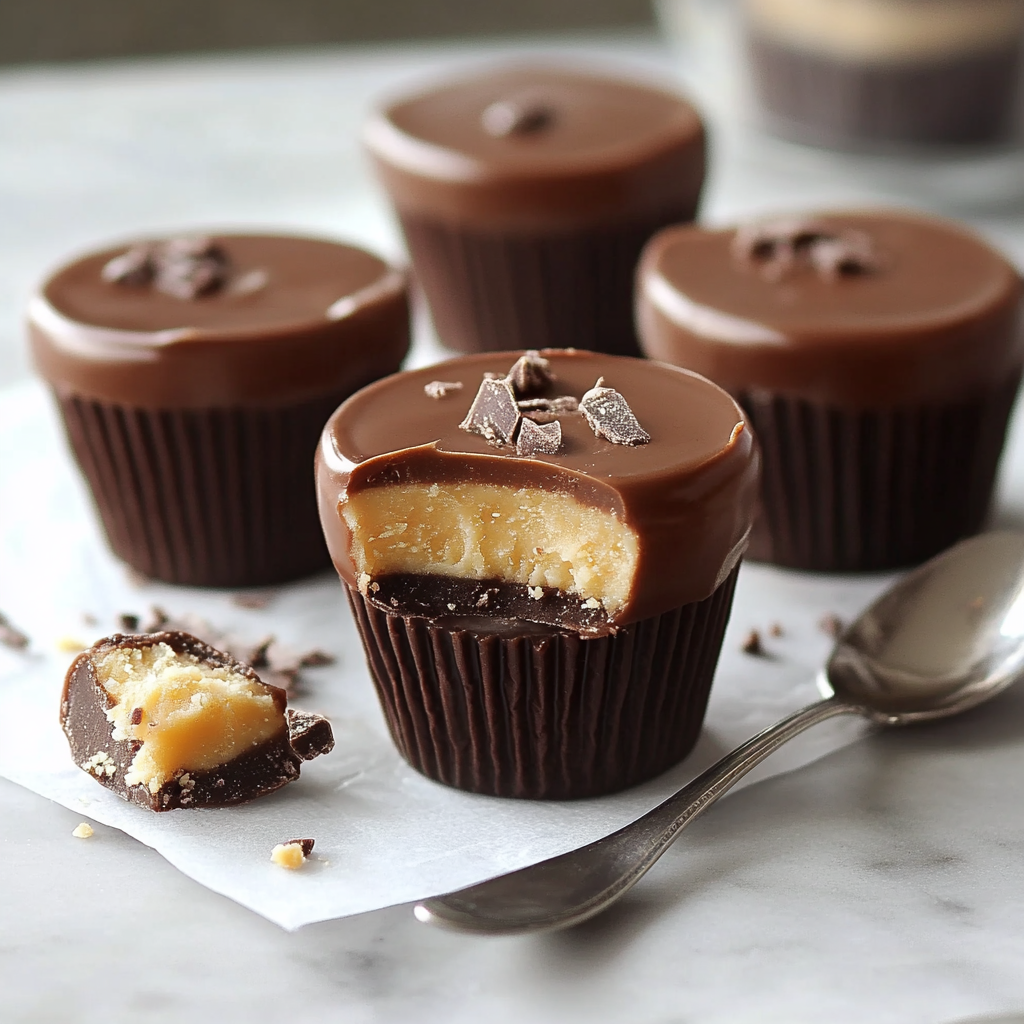
Healthy Twix Cups
Indulge in these delicious and guilt-free Healthy Twix Cups made with a delicate cookie base, luscious caramel filling, and rich dark chocolate coating. Perfect for satisfying your sweet tooth while still nourishing your body.
Ingredients
- 1 cup almond flour
- 2 tablespoons coconut flour
- 2 tablespoons maple syrup
- 2 tablespoons coconut oil, melted
- 1 cup dates, soaked and pitted
- 2 tablespoons almond butter
- 2 tablespoons coconut oil, melted
- 1 teaspoon vanilla extract
- 1 cup dark chocolate, melted
Directions
-
In a mixing bowl, combine almond flour, coconut flour, maple syrup, and melted coconut oil. Mix until a dough forms.
-
Press the cookie dough into the bottom of a lined muffin tin, creating a thin and even layer. Place in the freezer to set.
-
In a food processor, blend the soaked and pitted dates, almond butter, melted coconut oil, and vanilla extract until smooth and creamy.
-
Remove the muffin tin from the freezer and evenly distribute the caramel filling on top of the cookie base.
-
Return the muffin tin to the freezer and let it set for at least 2 hours.
-
Once the caramel has set, remove the Twix Cups from the muffin tin and dip them into the melted dark chocolate, ensuring they are completely coated.
-
Place the coated Twix Cups on a parchment-lined tray and let them set in the refrigerator for 30 minutes.
-
Once the chocolate has hardened, your Healthy Twix Cups are ready to be enjoyed!