
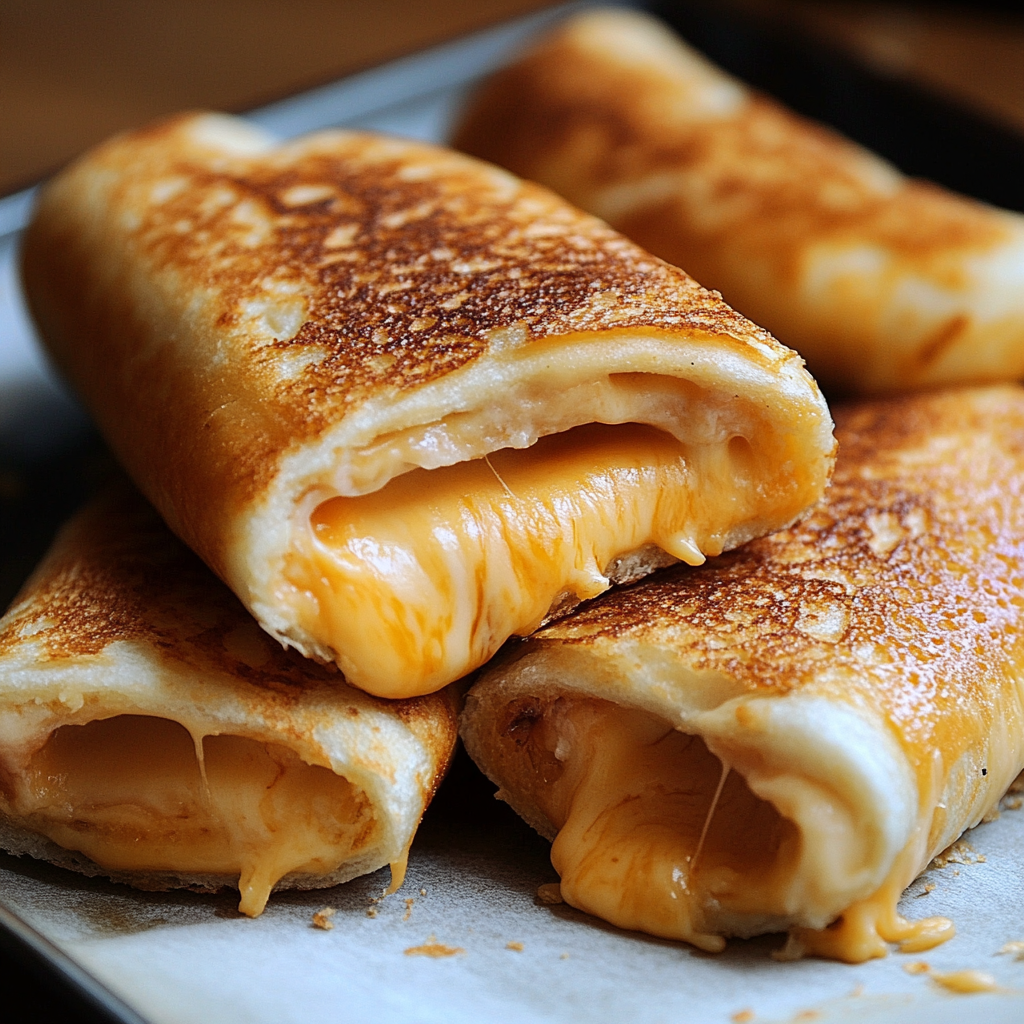
Delicious Grilled Cheese Roll-Ups Recipe
Are you looking for a fun twist on the classic grilled cheese sandwich? Look no further than Grilled Cheese Roll-Ups! This unique take on a traditional favorite combines the gooey, cheesy goodness of a grilled cheese sandwich with a fun and portable roll-up format. Perfect for a quick snack, a lunchbox surprise, or a party appetizer, these Grilled Cheese Roll-Ups are sure to be a hit with kids and adults alike.
Why You’ll Love This Recipe
These Grilled Cheese Roll-Ups are not only delicious but also incredibly easy to make. With just a few simple ingredients and a hot skillet, you can have a plate of crispy, cheesy roll-ups ready to enjoy in no time. The roll-up format also makes them perfect for dipping into your favorite tomato soup or marinara sauce, adding an extra layer of flavor to every bite.
Ingredients
For this recipe, you will need the following ingredients:
– Sliced bread (white or whole wheat)
– Cheddar cheese slices
– Butter
– Optional: additional fillings such as ham, spinach, or tomatoes
Step-by-Step Instructions
1. Start by flattening each slice of bread with a rolling pin to make it easier to roll up.
2. Place a slice of cheese on one end of the flattened bread slice.
3. Roll the bread up tightly, enclosing the cheese inside.
4. In a skillet, melt butter over medium heat.
5. Place the rolled-up bread seam side down in the skillet and cook until golden brown and crispy on all sides.
6. Remove from the skillet and let cool slightly before serving.
Expert Tips for Success
To ensure perfectly crispy Grilled Cheese Roll-Ups, make sure the skillet is hot before adding the roll-ups. This will help them cook quickly and evenly without becoming soggy. You can also experiment with different types of cheese and fillings to customize the flavor of your roll-ups. Don’t be afraid to get creative!
Variations and Substitutions
If you’re looking to switch things up, try using different types of cheese like mozzarella, Swiss, or pepper jack. You can also add cooked bacon, turkey, or avocado for extra flavor. For a healthier twist, use whole grain bread and low-fat cheese. The possibilities are endless!
Serving Suggestions
These Grilled Cheese Roll-Ups are best served hot and crispy, straight from the skillet. Pair them with a side of marinara sauce for dipping or a simple green salad for a complete meal. For a kid-friendly option, cut the roll-ups into bite-sized pieces for easy snacking.
FAQs
Q: Can I make these ahead of time?
A: While these roll-ups are best enjoyed fresh, you can prep them ahead of time and reheat them in the oven for a few minutes before serving.
Q: Can I freeze Grilled Cheese Roll-Ups?
A: Yes, you can freeze the roll-ups after cooking. Simply let them cool completely, then store them in an airtight container or freezer bag. To reheat, bake them in the oven until heated through.
Final Thoughts
Grilled Cheese Roll-Ups are a simple yet satisfying snack or meal that is sure to please even the pickiest eaters. With their crispy exterior and gooey cheese filling, they offer the perfect combination of flavors and textures. Whether you enjoy them on their own or paired with your favorite dipping sauce, these roll-ups are a must-try for any grilled cheese lover!

Grilled Cheese Roll-Ups
A fun twist on the classic grilled cheese sandwich, these Grilled Cheese Roll-Ups combine the gooey, cheesy goodness of a grilled cheese with a portable roll-up format. Perfect for a quick snack, lunchbox surprise, or party appetizer.
Ingredients
- 8 slices bread (white or whole wheat)
- 8 cheddar cheese slices
- Butter
- Optional: additional fillings such as ham, spinach, or tomatoes
Directions
- Start by flattening each slice of bread with a rolling pin.
- Place a slice of cheese on one end of the flattened bread slice.
- Roll the bread up tightly, enclosing the cheese inside.
- Melt butter in a skillet over medium heat.
- Place the rolled-up bread seam side down in the skillet and cook until golden brown and crispy on all sides.
- Remove from the skillet and let cool slightly before serving.